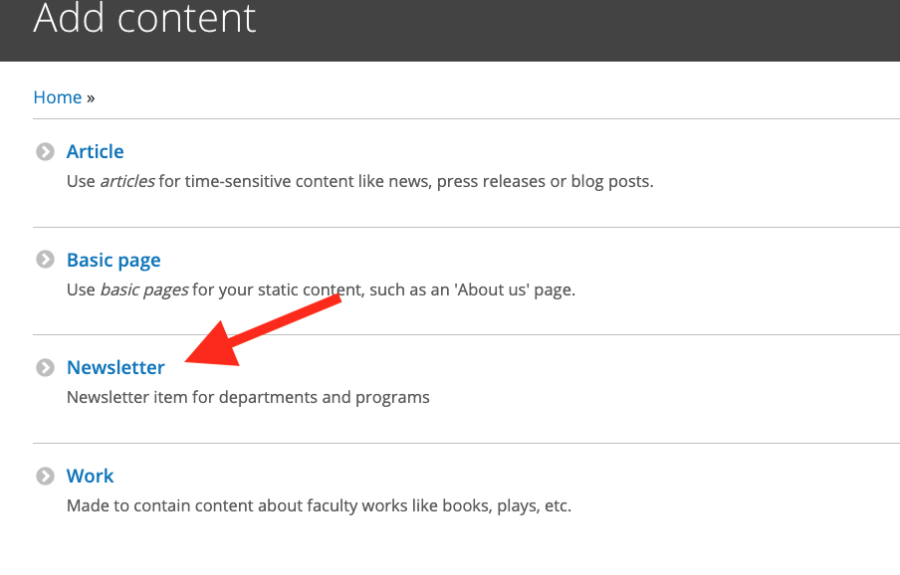
First, go to "Manage"->"Content" and click "Add Content" and then choose "Newsletter" as your content type.
Newsletter Components:
The newsletter content type will allow you to build your newsletter using four different component types:
- Events block
- Formatted text block
- Photo-and-text item
- Related articles
For a refresher on what these component types do (and examples of each), refer to the Drupal User Guide
In the content of a newsletter, the main difference between a formatted text block and a photo-and-text item, is that the formatted text block should be used for a section with text only. Use the photo-and-text item if you want to have a header image above the text.
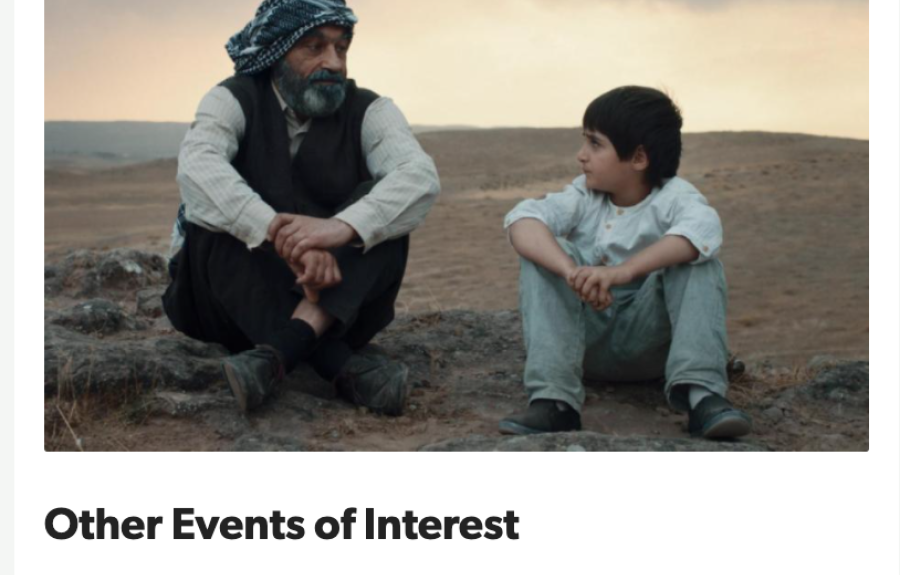
Photo-and-text item in newsletter (text with header image):
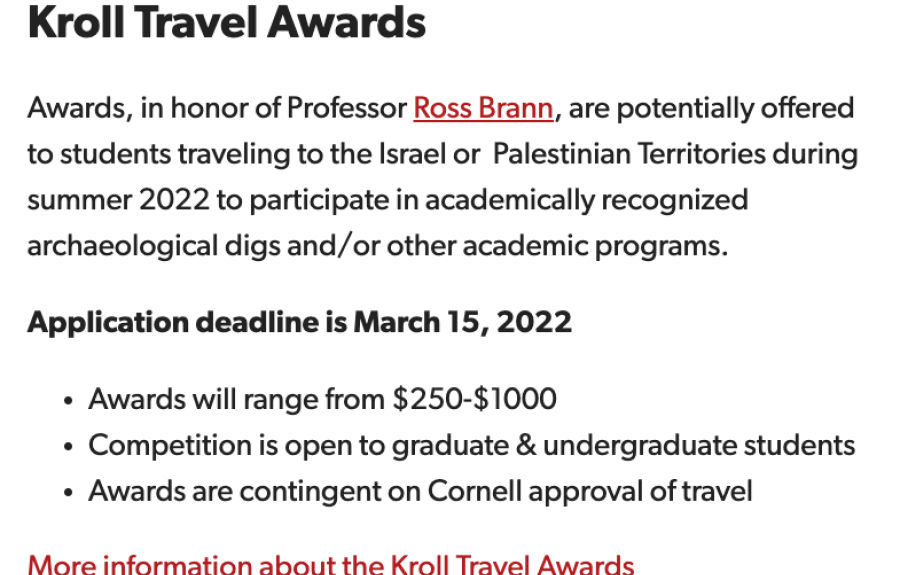
Formatted text block in newsletter (text only, no image):
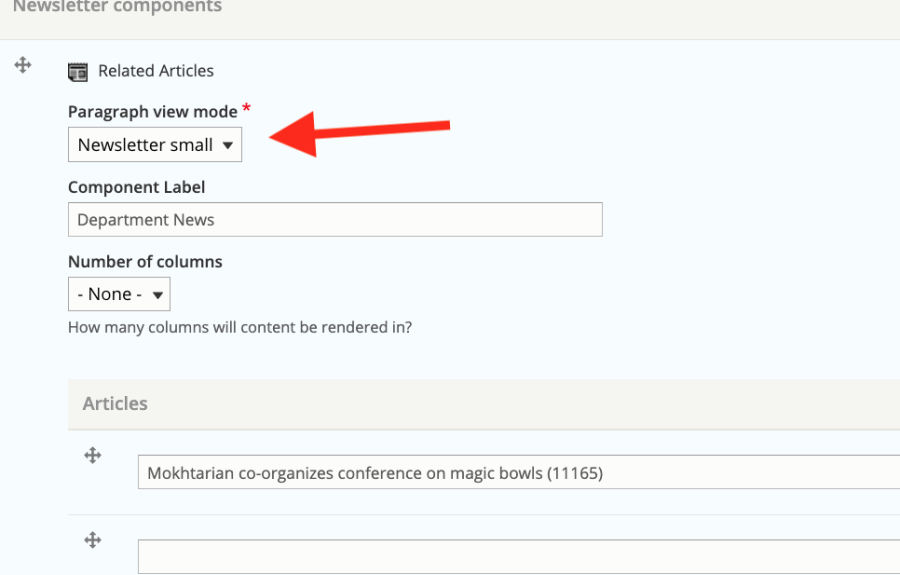
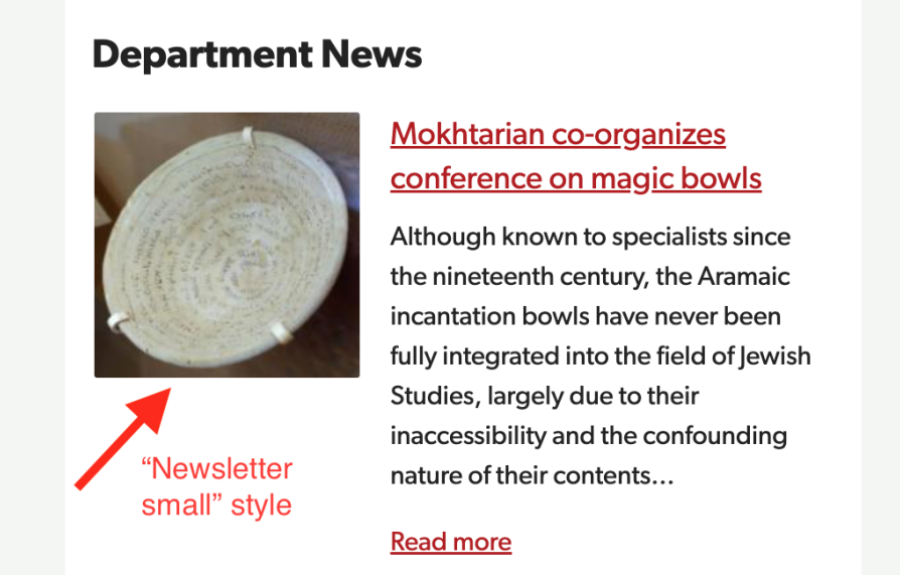
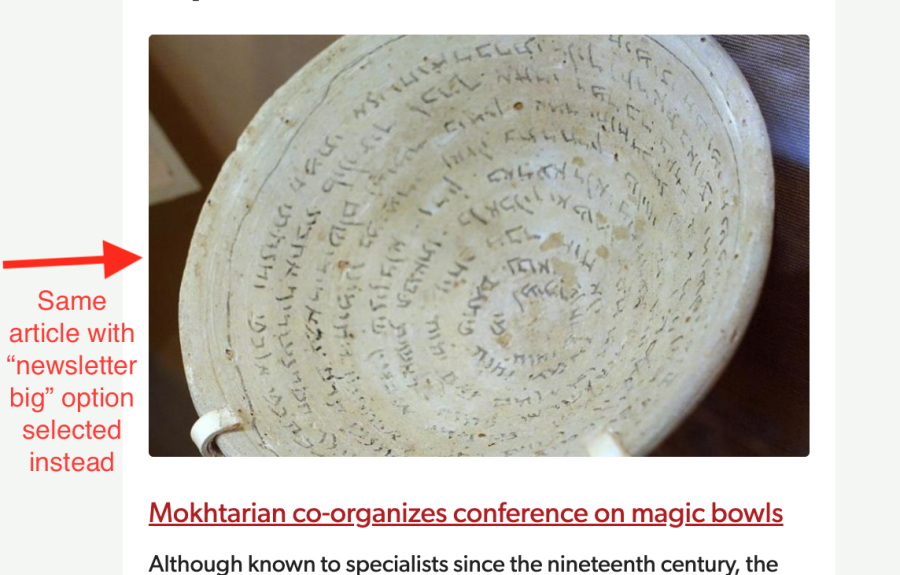
The Events Block and Related Articles blocks function similarly in a newsletter as they do on other pages on your website. The major difference with a Related Articles block in a newsletter is that you have to adjust the "Paragraph view mode" field to either "Newsletter small" or "Newsletter big" to ensure the article images display correctly. The default mode is "Card", so you must change this manually when you add a new Related Articles block to your newsletter.
"Newsletter small" will select the Thumbnail image style from your article and left-align it with text wrapping:
"Newsletter big" will select the Landscape image style from your article and include it as a header above the text, similar to the "Photo and text item" described above:
Exporting Your Newsletter into Lyris
Remember that your Drupal newsletter only exists as a "page", so to speak, on your website. You can link to it directly if you wish. The website does not send newsletters, and the newsletter content must be copied into a distribution service (like Lyris) in order to distribute it via email.
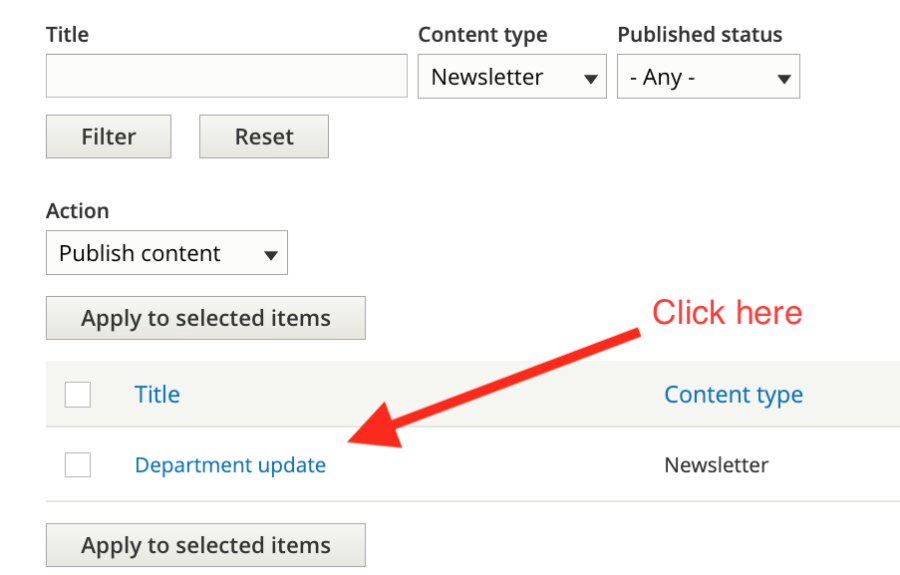
To start that process, first view the "public" version of your web newsletter (i.e. not the editing interface), by finding it in Manage Content and then clicking its title:
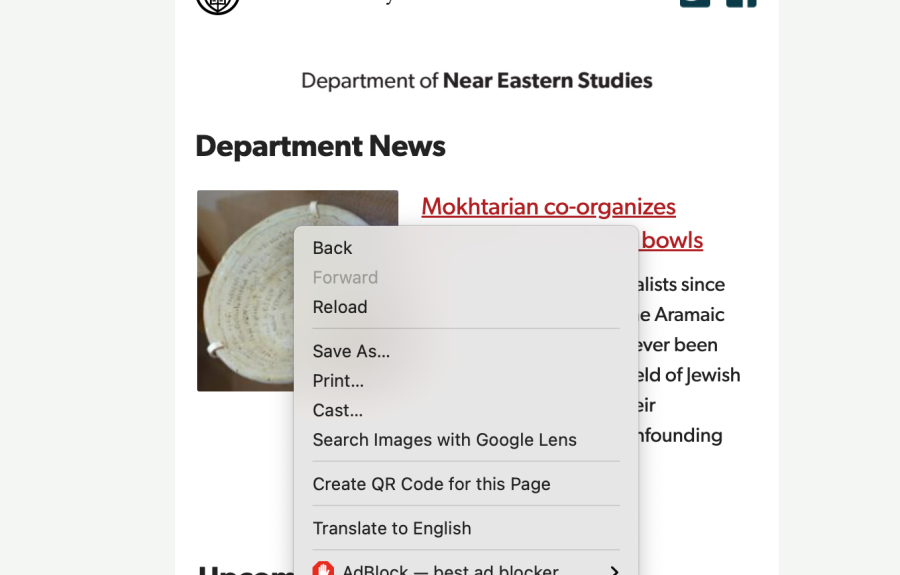
Next, right-click within the newsletter content itself and click "View page source":
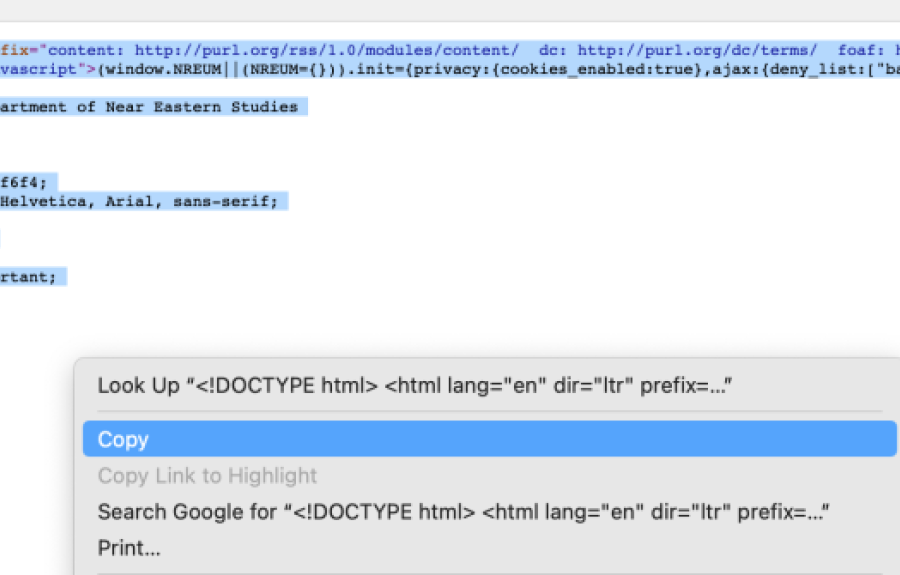
You will see a large block of code in the window that appears. Select all (Ctrl+A) to highlight the entire block of code and then press Ctrl+C to copy it.
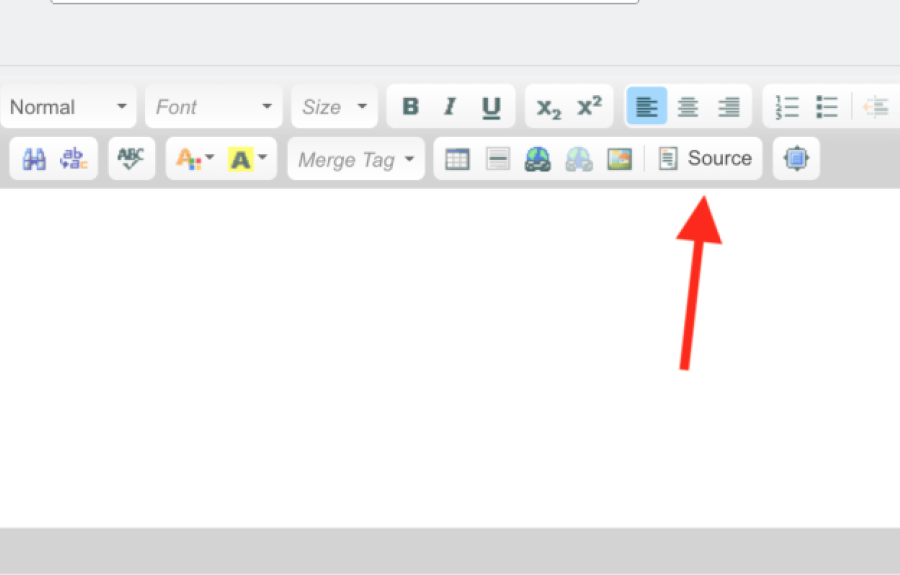
Next, open up your Lyris list in a new tab/window and create a new mailing. In the Lyris text editor, click the button labeled "Source."
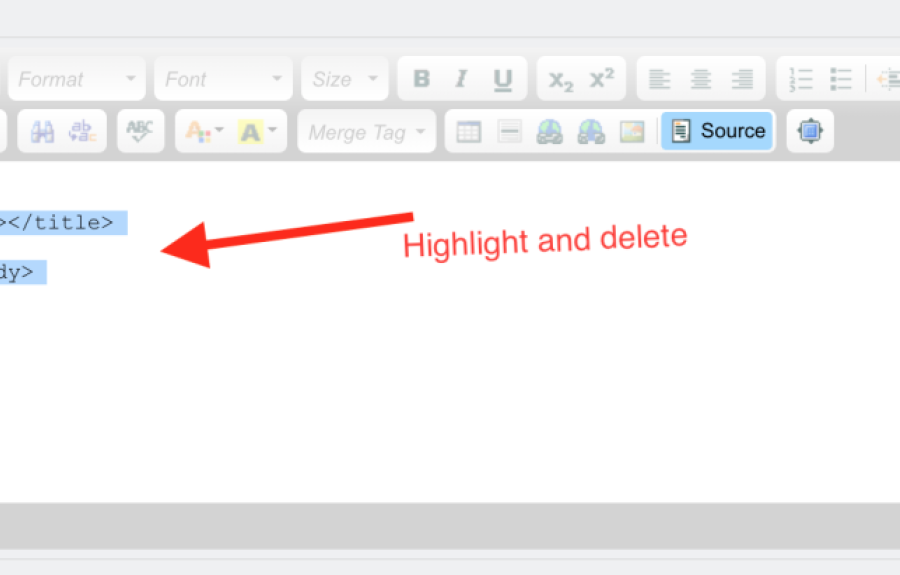
You will see a few sparse lines of HTML code. Highlight it all and delete it.
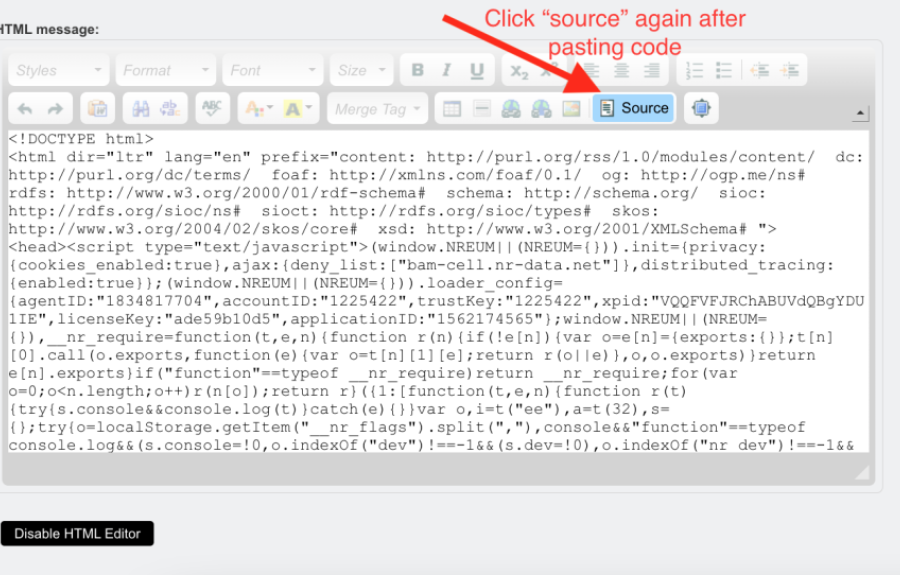
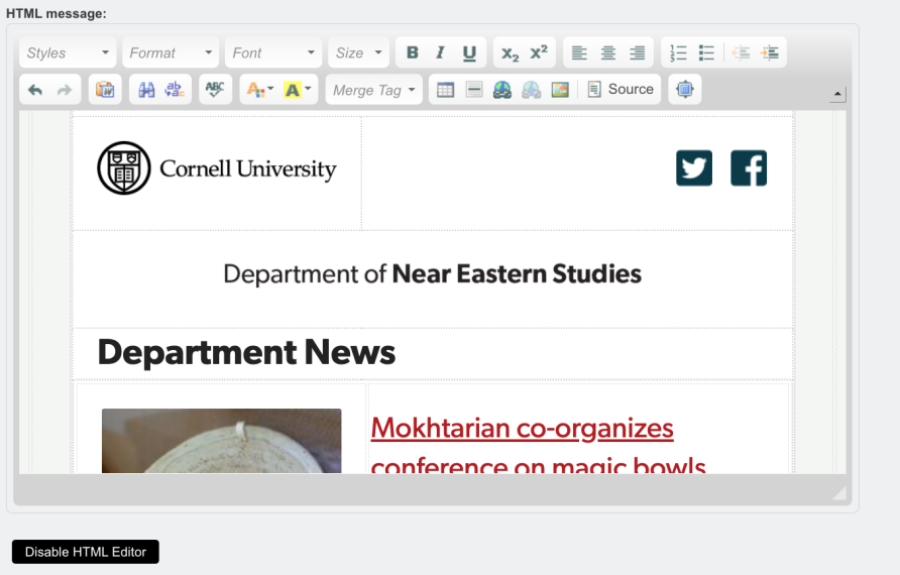
After deleting, press Ctrl+V to paste in the large block of code you copied from your newsletter. After that's pasted (and without touching any of the code you pasted in), click the "Source" button again, and the code will render your newsletter content:
Newsletter content is now successfully rendered in Lyris:
Your newsletter is now set to save and test or send to your Lyris list. Be sure not to update any text or images directly in the Lyris editor, as the styling will be affected. If you need to edit the newsletter content, do it in Drupal and then repeat the steps of copying the source code and pasting it into Lyris again.

